To start, I bought a few packs of white paper lanterns at the craft store. The sets I bought were in the party section, came in a pack of three and were various sizes.
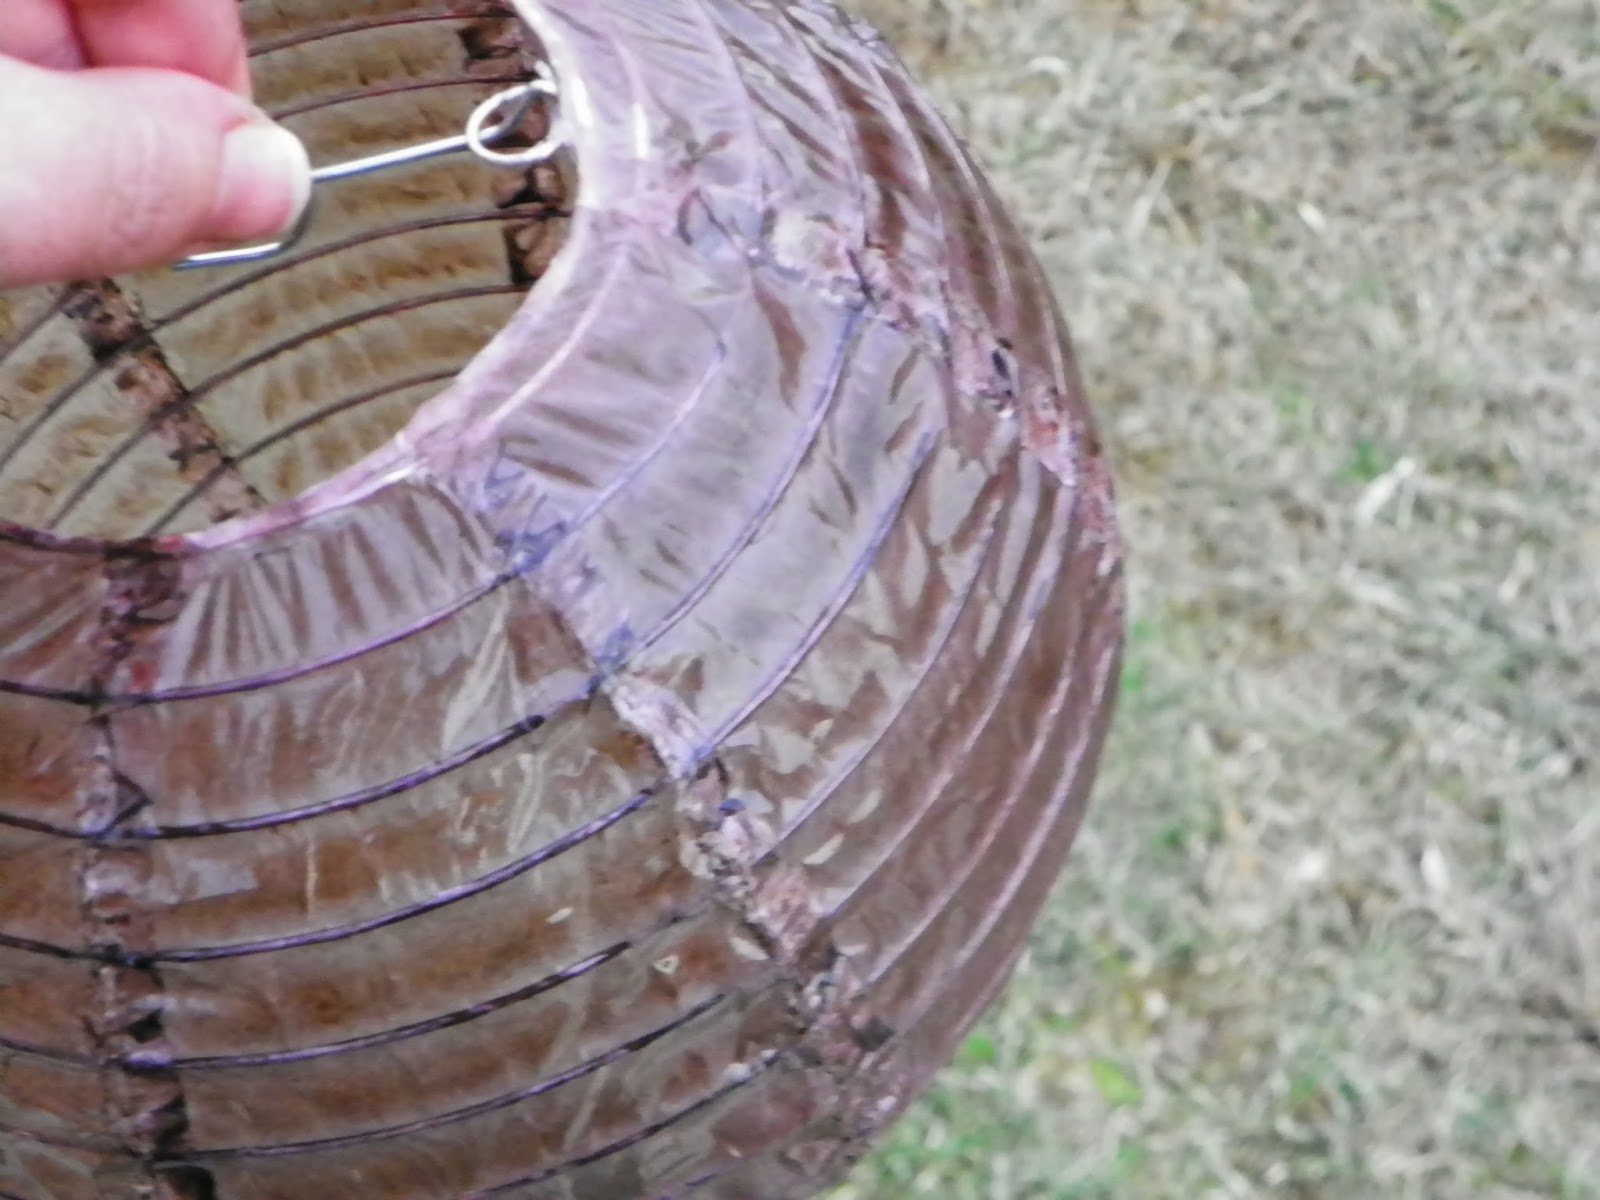
After assembling the lantern, I went about making the "dye" for my lantern. I used a spray water bottle, ink refill in the color of my choice (where, chocolate chip), and rubbing alcohol. I dropped about 50 drops of ink refill in the bottle and then filled it about 3/4 full of rubbing alcohol. Why rubbing alcohol? It will dry much faster than water and prevent the ink from running as a result.
Take your lantern and spray bottle outside if possible because this will make a mess! I recommend wearing rubber gloves for this project so your hands do not temporarily turn the color of your new lantern (trust me, I have experience with dying my hands!). I also recommend squeezing the spray bottle a few times away from you and your lantern before actually angling toward you so the ink and alcohol mixture has a chance to work through the spray bottle.
Holding the lantern away from you, start spraying the lantern in even strokes. You'll want to rotate the lantern as you spray so you cover the entire surface of the outside. After you finish spraying, keep rotating the lantern with your wrist for a minute or two to make sure you have no drops wanting to form. The alcohol will dry rather quickly, but feel free to set it down on a work surface while it dries completely before bringing back in the house.
Finally, take a paper towel and wipe off any excess ink from the wire frame on the top and bottom of the lantern. I forget this part frequently and end up having a little ink on me when I string them up!
Speaking of stringing up, I used ribbon and thumb tacks to hang my lanterns. I cut the ribbon much longer than I knew I would use because I wanted to make sure I had room to adjust and stagger the lanterns as they hang. After getting the lanterns placed where I wanted, I then went back and trimmed off any extra ribbon.


No comments:
Post a Comment