I've had this idea for creating a little mixed media bird for a while now and am finally inspired to make it. The idea came from seeing adorable metal and ceramic birds in home decor and craft stores. I have a tendency to see things I like and thinking, "I can make that!"
Seeing various little birdies made me want to make a Stampin' Up! version. I love the colors and vintage feel of the Soho Subway paper from Stampin' Up!, and so chose to use this for my bird.
I started with a paper mache oval as the bird body. I tore half of a piece of Designer Series Paper (DSP) into small pieces to be used for covering the paper mache body. I took a foam craft brush and applied some of the modge podge to the paper mache body. Then, I applied a piece of the DSP to the modge podged area. Pressing down, I made sure a had good adhesion to the surface. Finally, I applied another coat of modge podge to the top of the paper.
This process is repeated continuously- overlapping the strips of paper as necessary to ensure good coverage- until the entire surface of the body is covered. Let this dry and even consider an added layer of modge podge to give the body a finished look.
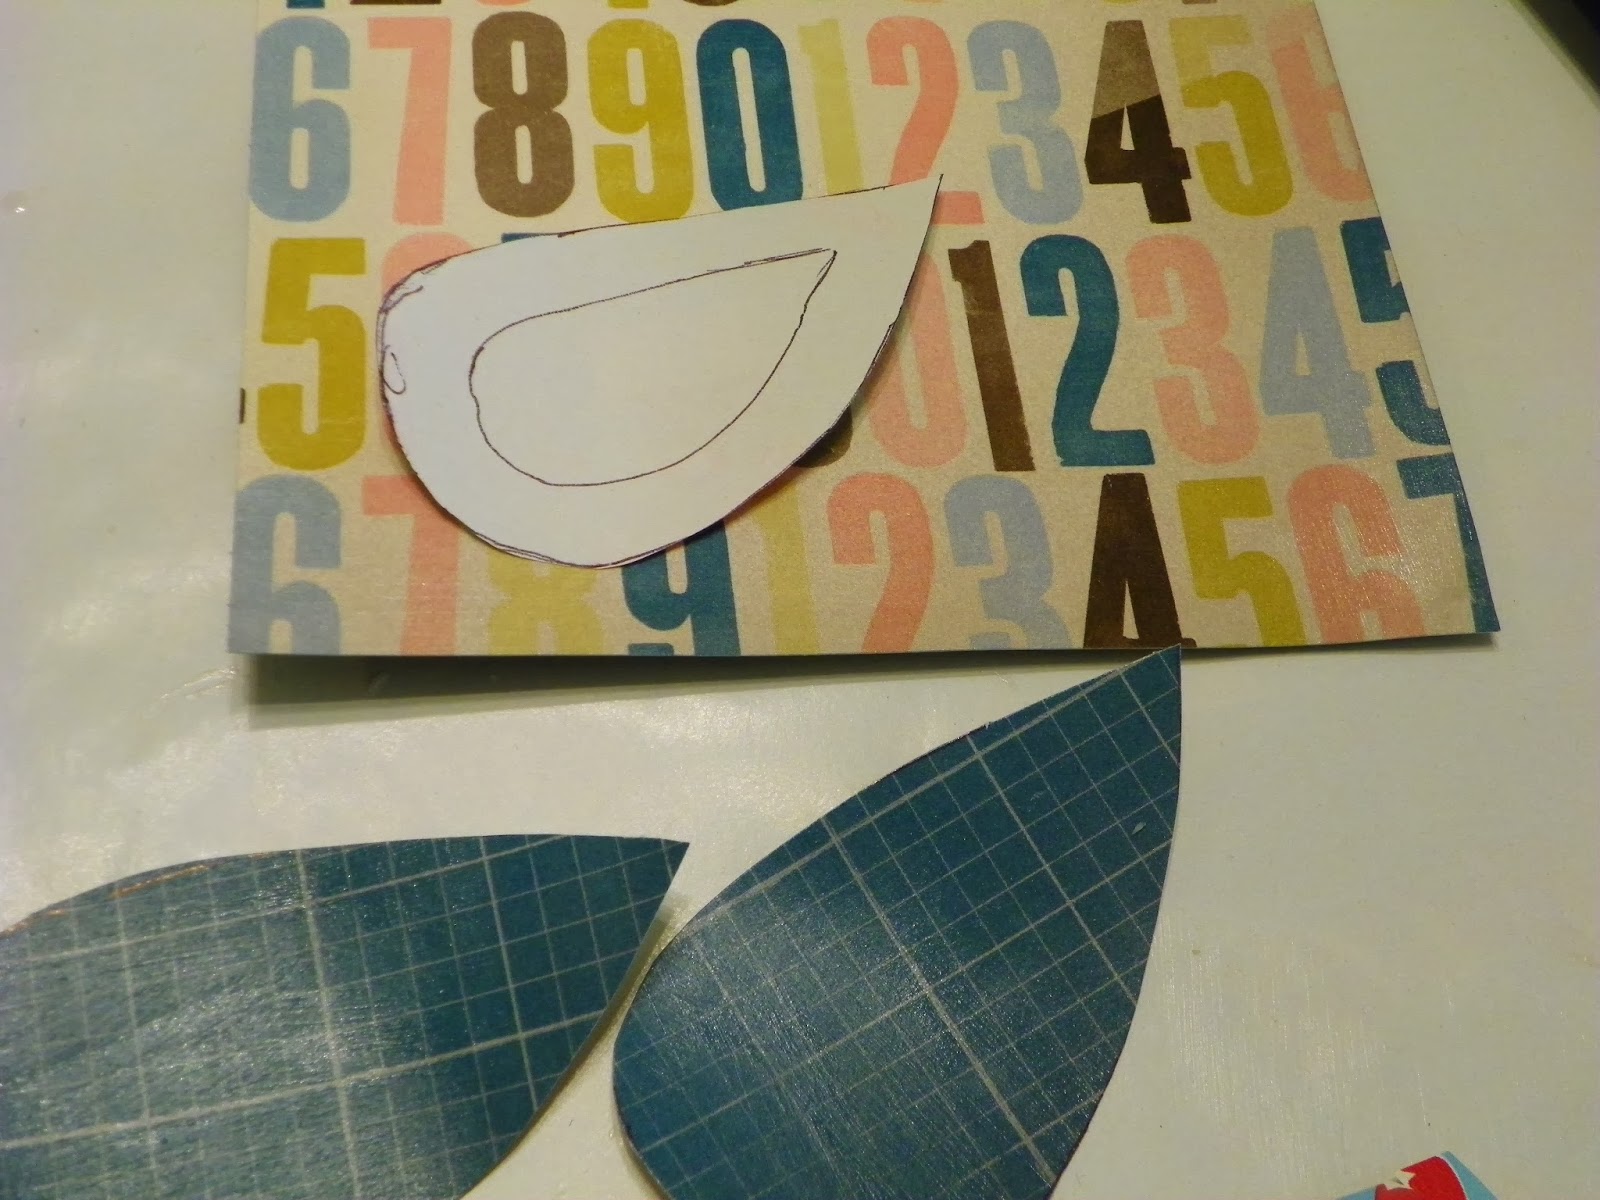
For the wings, I drew out a teardrop shape in proportion to the body and cut it out using scrap paper. Then I took a light layer of modge podge and coated the surface of the paper I wanted to use for the wings. This not only helped the paper to hold shape better, but gave the paper the same finish as the bird body. After drying, I used my wing stencil to trace and cut out wings from the DSP paper.

To give the wings some added flair, I re-traced my teardrop shape in the center of the stencil to achieve a smaller teardrop. Then I cut that out and used it to trace the smaller design on a different designed paper. This smaller wing shape was then glued to the center of the larger wing using modge podge.
Once the wings were dry, modge podge was added to the back quarter of the wing at the widest end. This was then attached to the side of the bird body parallel to the body. By only adding glue to the first quarter of the body, I could ensure the wings were securely attached while allowing the rest of the wing to have dimension.
The beak of the bird came from punching a 2" circle from DSP. This was then cut halfway through and the corners of the slit section pushed together to create a cone. This was glued together and then adhered to the front of the bird body.
Now for the tail! 6" by 1/4" strips were cut from a variety of pieces of DSP in the Soho Subway pack, 6 in total. The end of the strip was then curled. After all strips are curled, they were then glued together at the non-curled end and attached to the end of the bird body.
Details were then finalized for the little bird! I added two small circles using a black sharpie for the eyes. On the bottom of the bird, I punched two small holes in the bottom for the insertion of the legs. To make the legs, I used wire left over from hanging a picture, but any wire will do. Some pliers were used to curl the wire to make the feet. After making a pair, the leg was inserted into the body and hot glued in place.


No comments:
Post a Comment