About Me

My photo
Welcome to Artsy Acorn! I love all sorts of art, photography, and making fun and unique items out of trinkets and found items. Enjoy creating and learning with me!

Tuesday, July 1, 2014

Stars and Stripes

I received my June Paper Pumpkin kit from Stampin' Up! in the mail, and fell in love with the set! Super cool, amazing paper, and... pinwheels!  I couldn't wait to get my hands on it.

But, you know me, I am always thinking of other ways to use items I have.  I had several pinwheels I pre-made in a line on my table, and saw my next project (literally) laying in front of me.  What about making a banner out of these guys?

So, I took 5 pinwheels, strung some hemp twine through them, and added some ribbon!


The squares are 5 by 5 with diagonal cuts toward the center.  In addition, the middle of the pinwheel and the same side of each triangular section of the pinwheel should have a hole pierced in through it for a brad.  This makes it easy to pull each side of the pinwheel together and fastened through the middle.  


The easiest way to get the process started is to take one side of the triangular piece (the corner with the hole pierced through it) and use your finger or a bone folder to start to curl the edge.  Then, gather your curled edges toward the middle for the finished pinwheel!


Sunday, June 29, 2014

Show and Tell

I've been a busy bee working on some samples for the upcoming Stampin' Up!  Convention!  As I mentioned in a previous post, a group of ladies and I were chosen to have a display board for all 4,000 attendees to see!

Here is set one of my samples.  All use the Park Lane Designer Series Paper in some way.  Enjoy!

Gorgeous Grunge Stamp Set, Elegant Butterfly Punch, Watercolor Wonder Washi Tape


Bird Builder Punch, Happiness is Project Life Accessory Kit, Doily


Paper Pumpkin Starter Kit, Everyday Occasions Kit, Burlap Ribbon


Fancy Foil Designer Vellum, Hello Darling Stamp Set, Gold Sequin Trim, Venetian Crochet Trim


Retro Fresh Washi Tape, Elegant and Bitty Butterfly Punches, Basic Rhinestones, Love Who You Are Stamp


Window Sheets, Dotty Angles and Chalk Talk Stamp Sets, Staz on White Ink

Sunday, June 8, 2014

Gift Cards Galore!

I have several friends in that are independent businesswomen out of their home as well and really enjoy finding out more about how they run their businesses.  Even though we all have different products, so much of the process and integrity with our work is the same.

When I was with these women having a Stampin' Up! workshop this past February, I gave each person a gift certificate holder with instructions on how to make them as one of the items with the workshop.  Since each of our businesses offers gift certificates, its a great way to market.

So, I was delighted when the gift certificates were a hit and I was asked to make 45 for one of the business owners (a fabulous lady who is a massage therapist).


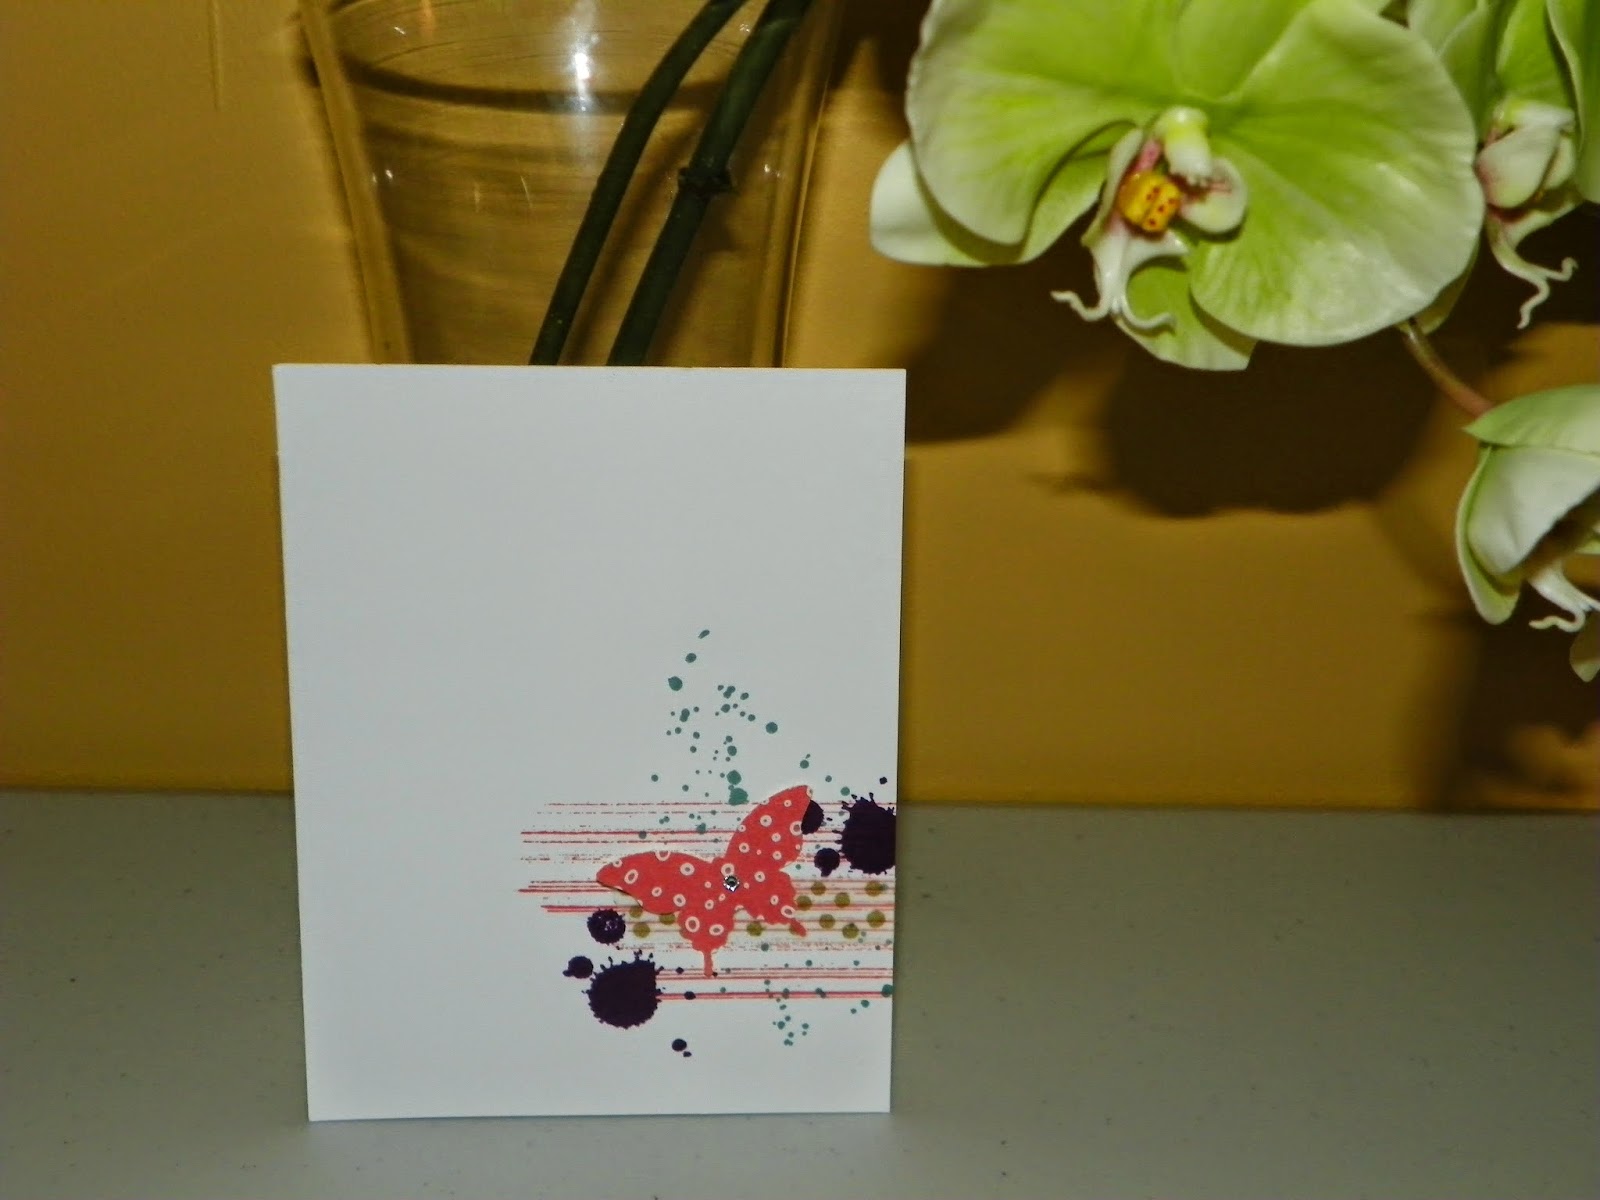
It's like a rainbow of colors!  Let me show you a few additional ones from this stash.  Most that I made were for any occasion, but I did make a few Fathers day cards as well as birthday cards.


Don't you want to make some, too?  Here's how:

You'll need:
- 1 sheet of 8 1/2 x 11" card stock
-1 piece of coordinating Designer Series Paper (DSP)
-Stamps and Embellishments as needed to coordinate
-Adhesive
-Paper Trimmer
-16" strip of coordinating ribbon

-Score the piece of card stock lengthwise at 7 1/8" and 3 1/8"
-Using the vertical ruler on the blade of the trimmer, cut a slit in each of the scored lines with the cutting back from 4 to 4 1/2".  
-Tri-fold the card stock so that one fold overlaps the other, creating an outer flap
-For the outer flap, trim the edge with a decorative trimmer, tear the edge, or leave along depending on your design
-For the inner flap, cut a piece of DSP to 7 1/2" by 2 1/2" and adhere to the outside edge so the paper is viewable.  
-Stamp and add embellishments 
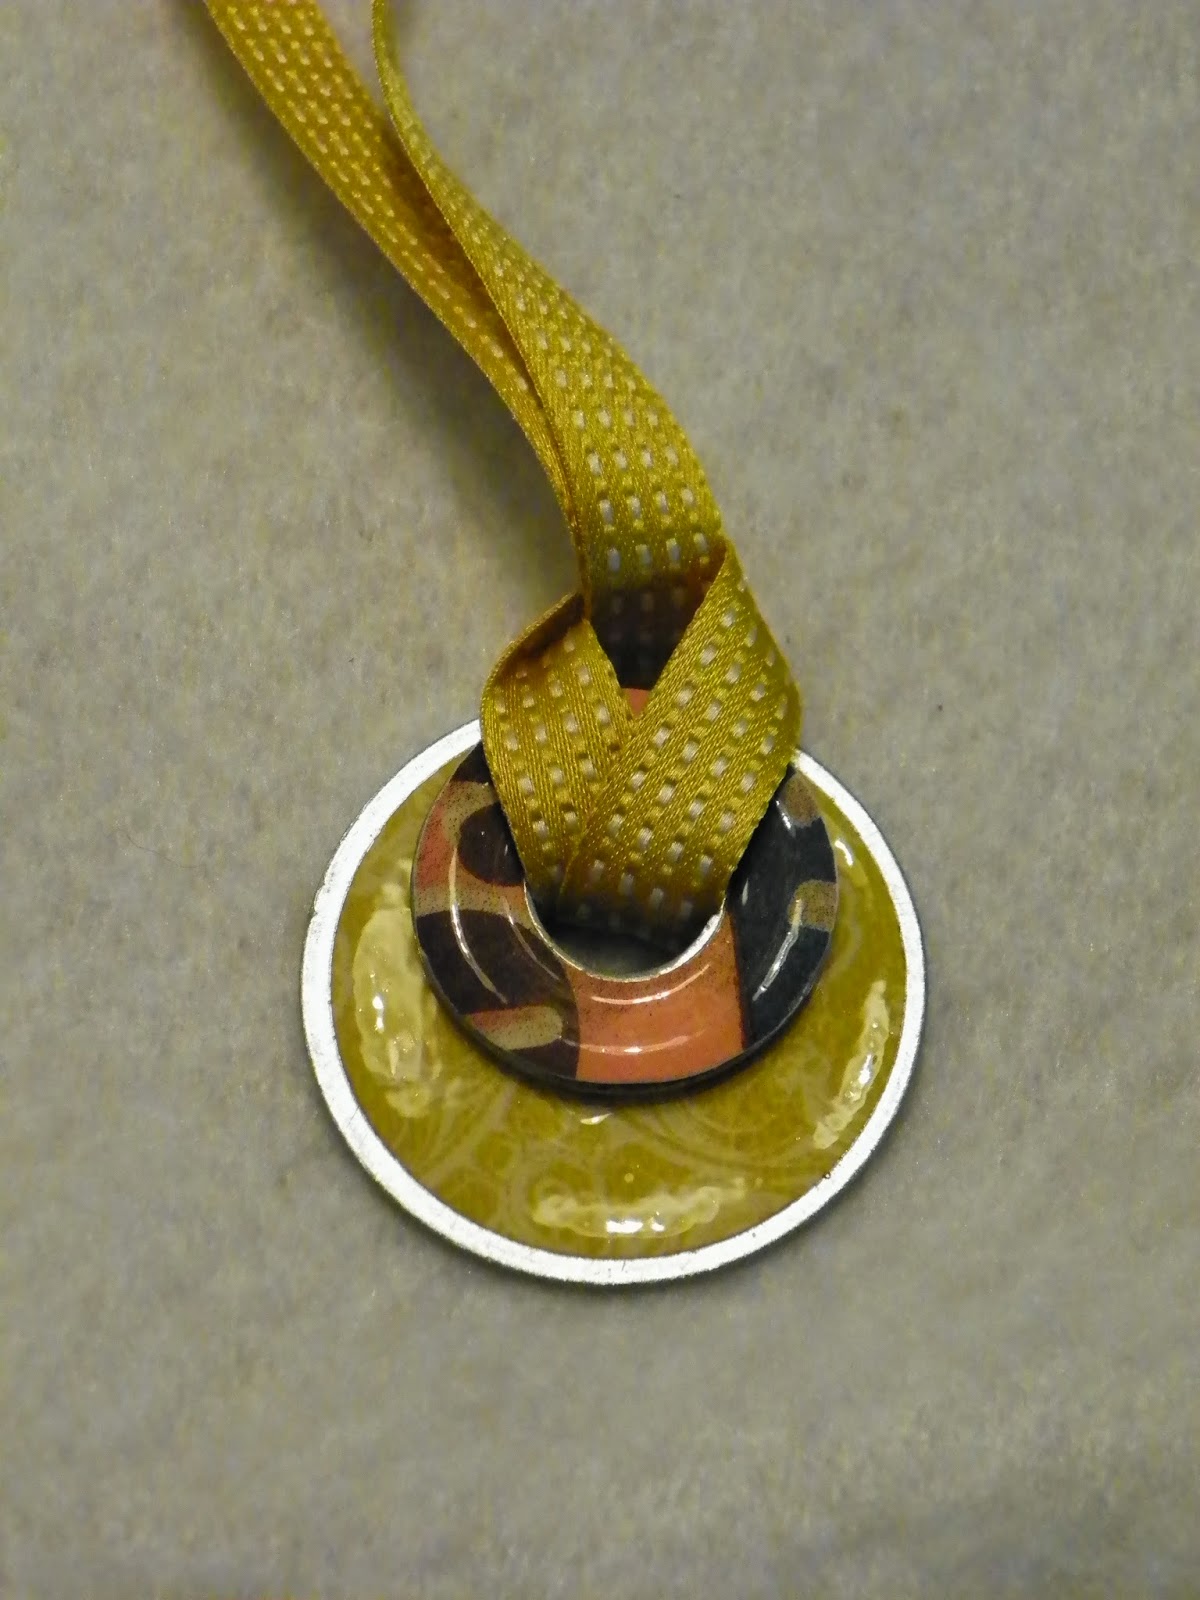
-Run the strip of ribbon through the slits in the paper so the edges can be tied on the outside of the certificate
-Adhere your gift certificate to the center section (covering the ribbon running through this section)
-Close certificate and tie ribbon, trimming if needed.

Enjoy!

Wednesday, June 4, 2014

How it all starts...

Me and a few friends of mine in my Stampin' Up! family were chosen to create a board at our upcoming convention.  The theme and items are completely up to us, which is liberating and daunting all at the same time!  As we started to develop our theme, I had so many ideas in my head.  How do I handle that?  I start with an idea page.


It might be cluttered looking or confusing, but it really helps me to get the ideas out of my head.  Then, I can start to sort through what will work, what I need to adjust, and what I need to make sure I have on hand.  

Have any projects coming up?  Try writing down the steps or what you'd like to accomplish.  I promise that this will help you sort through what all you plan to do so your project goes smoothly!

Thursday, May 29, 2014

Out with the Old Part II

Here are a few more projects I made this week using some products retiring soon!


I found this burlap bag at a craft store, and added the polka dots with white craft paint and a sponge dauber.  I inserted a scrap piece of cardboard in the purse so the paint wouldn't leak through to the other side.  Once dry, I added dots to the other side.  Ribbon trim as added to the top of the bag with hot glue.  Tip: I used the seam on the top of the purse to guide where I added ribbon to make sure it was straight.  Scraps of ribbon were added on a safety pin, and rosettes were glued to the top.  Then, the safety pin was added to the side of the purse.  This step is optional, but I liked the idea of taking the ribbon streamers on or off depending on my mood!  


I've made a tray like this before in a previous blog using Etcetera designer series paper.  I've had this paper for a while, and decided it was destined to be a tray!  This wasn't hard to do, but took some time with measuring and cutting out the paper.  I used antique finish modge podge for this project and then finished it off with a gloss spray sealer.  

Sunday, May 25, 2014

Out with the old....

The "Sound of Music" song of "so long, fair well..." comes to mind when I think about the changing of  annual catalogs with Stampin' Up!  On one hand, it's sad to see some of you favorites go, and if you are like me, you tend to hoard your favorites.  But, I can promise that the new catalog is amazing and worth it!  Because of the upcoming changes, I felt inspired to do a little de-cluttering and try to use up some of my scraps and bits that have either already departed or will so be no longer available to make room for all the amazing new things coming in a week.  I went a little crazy this weekend, so this might end up being a two-parter to fit it all in!

First up, I found these darling burlap canvases a while back, and luckily stocked up on a few sets.  Today, I used some scraps of paper and ribbon to create these cute guys.  

Items used: Scaps from Quatrefancy Specialty DSP, Etcetera DSP, Eastern Elegance DSP, and Epic Day DSP, Gold Sequin Trim, Rosettes and SAB Pool Party Ribbon, Soft Suede and Crisp Cantaloupe Ink, Tea Lace Paper Doilies, Hot Glue Gun.


Second, I used some additional Epic Day paper and the Floral Framelits to make a cute banner.  Ribbon scraps helped finish this guy up.


More "out with the old" projects coming soon- stay tuned!

Monday, May 19, 2014

Washer Wonder

I'm back!  Sorry for the delay in writing lately.  I had a little issue with being able to post for a while, but that is all fixed now.

The past few weekends have been busy with vendor shows and craft shows, so I've had a blast getting together some fun things to make.


One of creations I recently brought back is washer jewelry.  What, you might ask?  Beautiful pendants made using hardware washers.  Here's what I did...

First, I picked up washers in a variety of sizes.  They are really inexpensive at your local hardware store, so get a variety!

Scraps of paper is a great thing to use here.  With a variety of circle punches, I was able to cut out the inner and outer ring of the washer shape easily!


Next, I used a little glue (modge podge or tombo works great) to adhere the paper to the center of the washer.  After this dried, I used Crystal Effects lacquer to add a beautiful finish to the piece.  Let this dry overnight.  In the case of adding a rhinestone or other embellishment, go ahead and add that on your washer while it is still drying.

 Once dried, the washer was made into a necklace by tying some ribbon, twine, leather cord, or other necklace material to finalize your necklace!