About Me

My photo
Welcome to Artsy Acorn! I love all sorts of art, photography, and making fun and unique items out of trinkets and found items. Enjoy creating and learning with me!

Tuesday, July 29, 2014

Convention Day 2

It feels like so long ago that convention happened, and that is perhaps because of how full my mind has been of all that I learned.  I was reminded today in a leadership conference I attended of how great leaders find ways to inspire and help create greatness in others.  While I certainly don't consider myself a leader, I do hope to inspire others and help others to be creative and find ways to accomplish things they can be proud of.    These were things that reminded me of Stampin' Up! and what I hope to do with my workshops and events.

That brings me back to Salt Lake City for Day 2 of convention!

View from our hotel room- good morning Salt Lake City!


 Just me and 4,000 of my closest friends!


Our co-founder and CEO, Shelli Gardner with the founder of Project Life, Becki Higgins.

I love our new In Colors!

One of the MANY amazing samples from the upcoming Holiday Catalog!

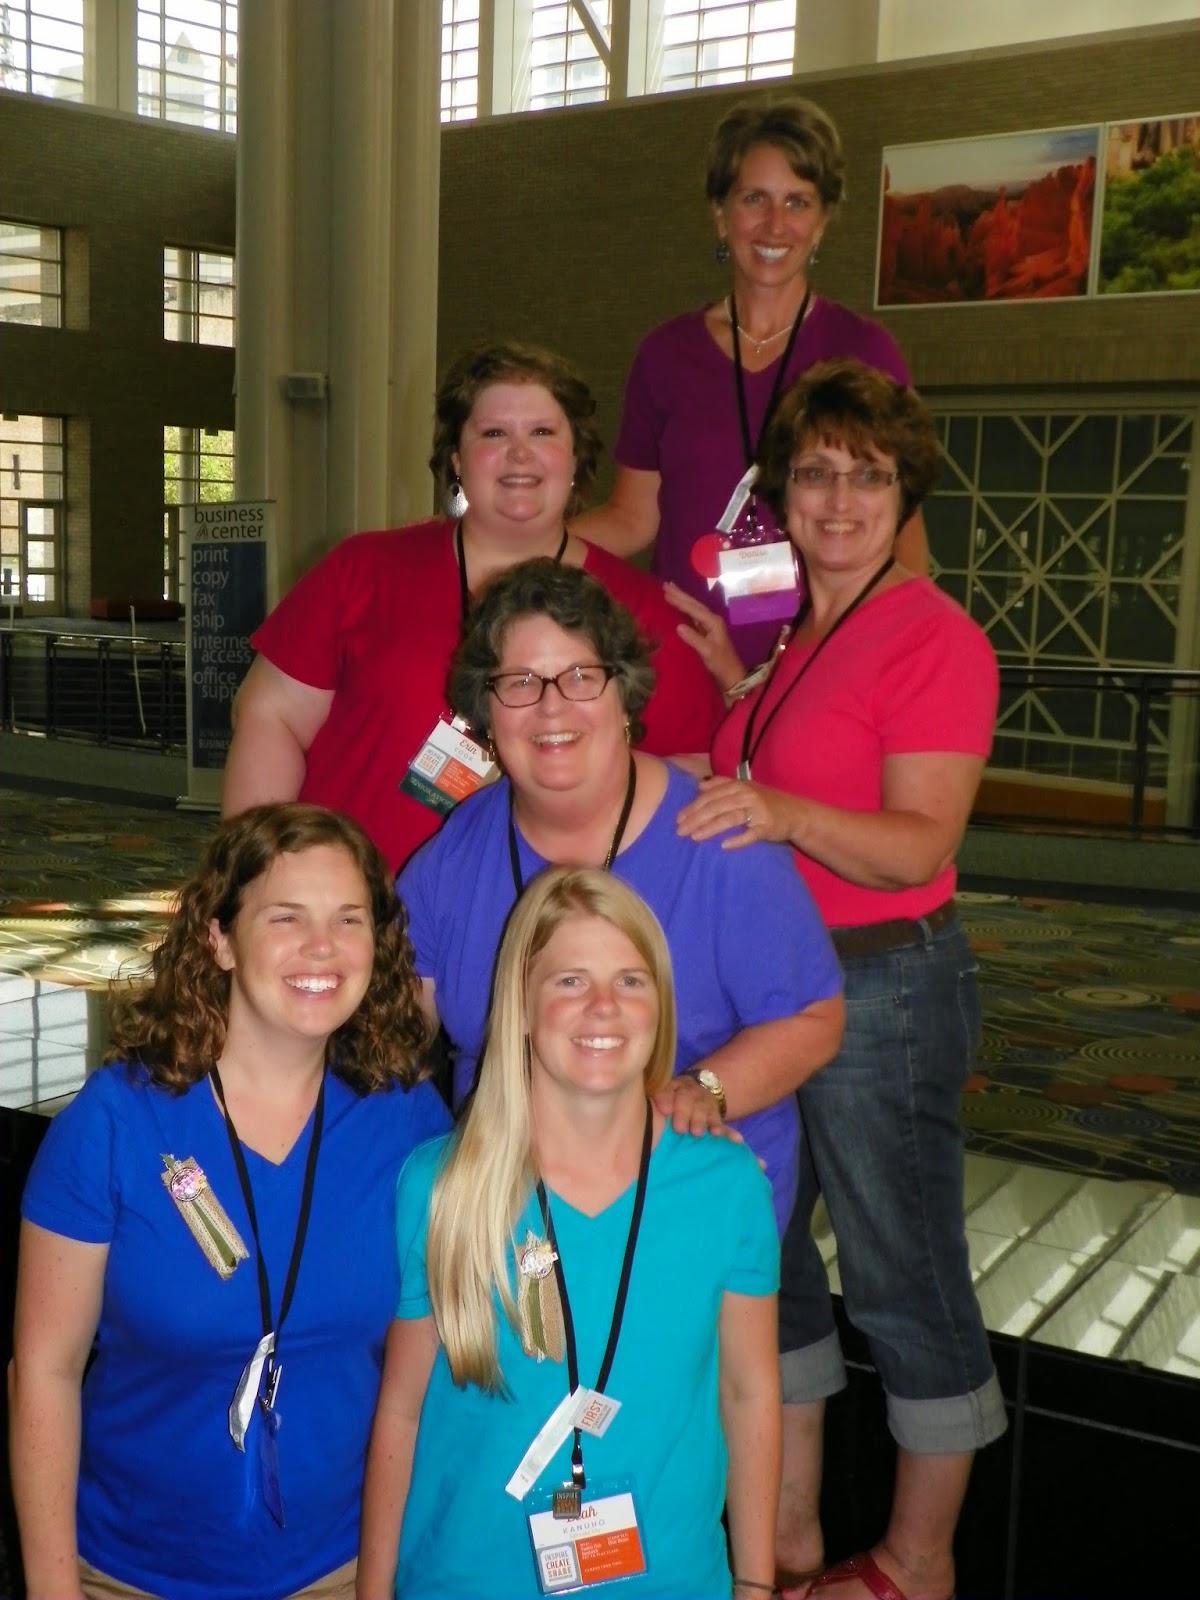
My Stampin Family!  I made us shirts and used a bleach pen to make a family tree on the back.


My upline Denise and part of our immediate Stampin family- Melanie, LJ, Rachel, and Leah

Up close look at the shirts!

More soon!

Tuesday, July 22, 2014

Convention Day 1

I'm back from Salt Lake City and the Stampin' Up! convention.  My head is FULL of ideas that I can't wait to share throughout the next months.  But first, let me share some pictures!

I flew in early and had most of the day to explore before needing to get down to business.  First thing? Food!  While it was only 11:00 SLC time, we had been traveling half the day already.  We found the Red Iguana, and knew everything would be amazing because it had been on Triple D (and Guy Fieri is always right!).  I had a strawberry mole dish that was killer.


After a quick ride on the tram, we explored City Creek and Temple Square.  Shopping and History, two of my favorite things!  The flowers in Temple Square were breathtaking and I loved all the water features.  I even toured the Beehive house, home to Brigham Young.  I had fun seeing how many places I could find a bee or a beehive carved in woodwork, in carpet patterns etc.  I definitely knew at all times that I was in the Beehive state, but loved learning the meaning behind it too!


Fun fact: Did you know that the Tabernacle where the Mormon Tabernacle choir rehearse is so acoustically sound that you can hear a pin drop at the altar from any point in the Tabernacle?


After sightseeing, Denise and I went to set up our display board for convention.  I felt a bit sneaky getting to see the gathering place before anyone else!  I think our board turned out great, don't you?


Monday, July 14, 2014

Swapping

I always think of swapping like a crafters version of baseball card trading.  I have cards that I want to trade (or swap) for someone else's card.  The result is I come home with a completely different set of cards than what I left with!

I am heading to the Stampin' Up! convention in two days (eeeeeeeeeeeeeeeeekkkkk) and am bringing some swaps.  I ended up with 130 swaps of various types.  In addition to making duplicates of some of the cards I made for our display board (see my last two posts), I made some original swaps.  Here's my lineup:
I love this "Friends Who Know" stamp set, stamped with Staz on white ink and basic gray card stock.  Confetti Celebration DSP works great with it!  

Moonlight DSP, Watercolor Wonder washi tape and the "Love Who You Are" stamp set

Blended Bloom painted with an aqua painter and Blackberry Bliss ink.  Moonlight DSP completes the mosaic pattern background.

Circle Flip card using Park Lane DSP and the "Project Life Remember This" stamp set

I love shaker frames!  Gold sequin trim was used in the shaker frame along with Gold Soiree DSP and "Mosaic Madness" stamp set.

The banner punch is so handy to make scraps of paper look intentional!  The paper is Park Lane and Fancy Foil designer vellum and I've used the "Fast Friends" and "Show and Tell" stamp sets.

I have a 3D swap that I've organized as well.  I made pendants using modge podge and the Gold Soiree paper.  Then, I made this darling little box with Whisper White DSP, the Gold Soiree paper, gold sequin trim, and "A Round Array" stamp set.

Tuesday, July 8, 2014

Show and Tell, Too!

Blogging on Location: I am working in the little gift shop I have some of my crafties for sale in tonight!     There is a very large summer camp hosted at the University in the same town as Gifted (Gardner-Webb University in Boiling Springs, NC) and we have hundreds of campers in town each week!  So, naturally we have the shop open late to attract some of the campers to browse the store.  It definitely helps that our shop is attached to an awesome coffee house!  What teenager doesn't want coffee at 9:30pm?!?

I'm a week away from the Stampin' Up! convention (squeal) and have started thinking, "How the heck is all this going to fit in a suitcase?"  Have no fear- I am quite a resourceful packer.

The most daunting task- getting all my carefully made items to the conference for the display board we were asked to make (see Show and Tell part 1).  It will definitely be in my carryon luggage so I can watch it closely.  Want to see what else I've been working on?  I thought so!


Tuesday, July 1, 2014

Stars and Stripes

I received my June Paper Pumpkin kit from Stampin' Up! in the mail, and fell in love with the set! Super cool, amazing paper, and... pinwheels!  I couldn't wait to get my hands on it.

But, you know me, I am always thinking of other ways to use items I have.  I had several pinwheels I pre-made in a line on my table, and saw my next project (literally) laying in front of me.  What about making a banner out of these guys?

So, I took 5 pinwheels, strung some hemp twine through them, and added some ribbon!


The squares are 5 by 5 with diagonal cuts toward the center.  In addition, the middle of the pinwheel and the same side of each triangular section of the pinwheel should have a hole pierced in through it for a brad.  This makes it easy to pull each side of the pinwheel together and fastened through the middle.  


The easiest way to get the process started is to take one side of the triangular piece (the corner with the hole pierced through it) and use your finger or a bone folder to start to curl the edge.  Then, gather your curled edges toward the middle for the finished pinwheel!