I have several friends in that are independent businesswomen out of their home as well and really enjoy finding out more about how they run their businesses. Even though we all have different products, so much of the process and integrity with our work is the same.
When I was with these women having a Stampin' Up! workshop this past February, I gave each person a gift certificate holder with instructions on how to make them as one of the items with the workshop. Since each of our businesses offers gift certificates, its a great way to market.
So, I was delighted when the gift certificates were a hit and I was asked to make 45 for one of the business owners (a fabulous lady who is a massage therapist).
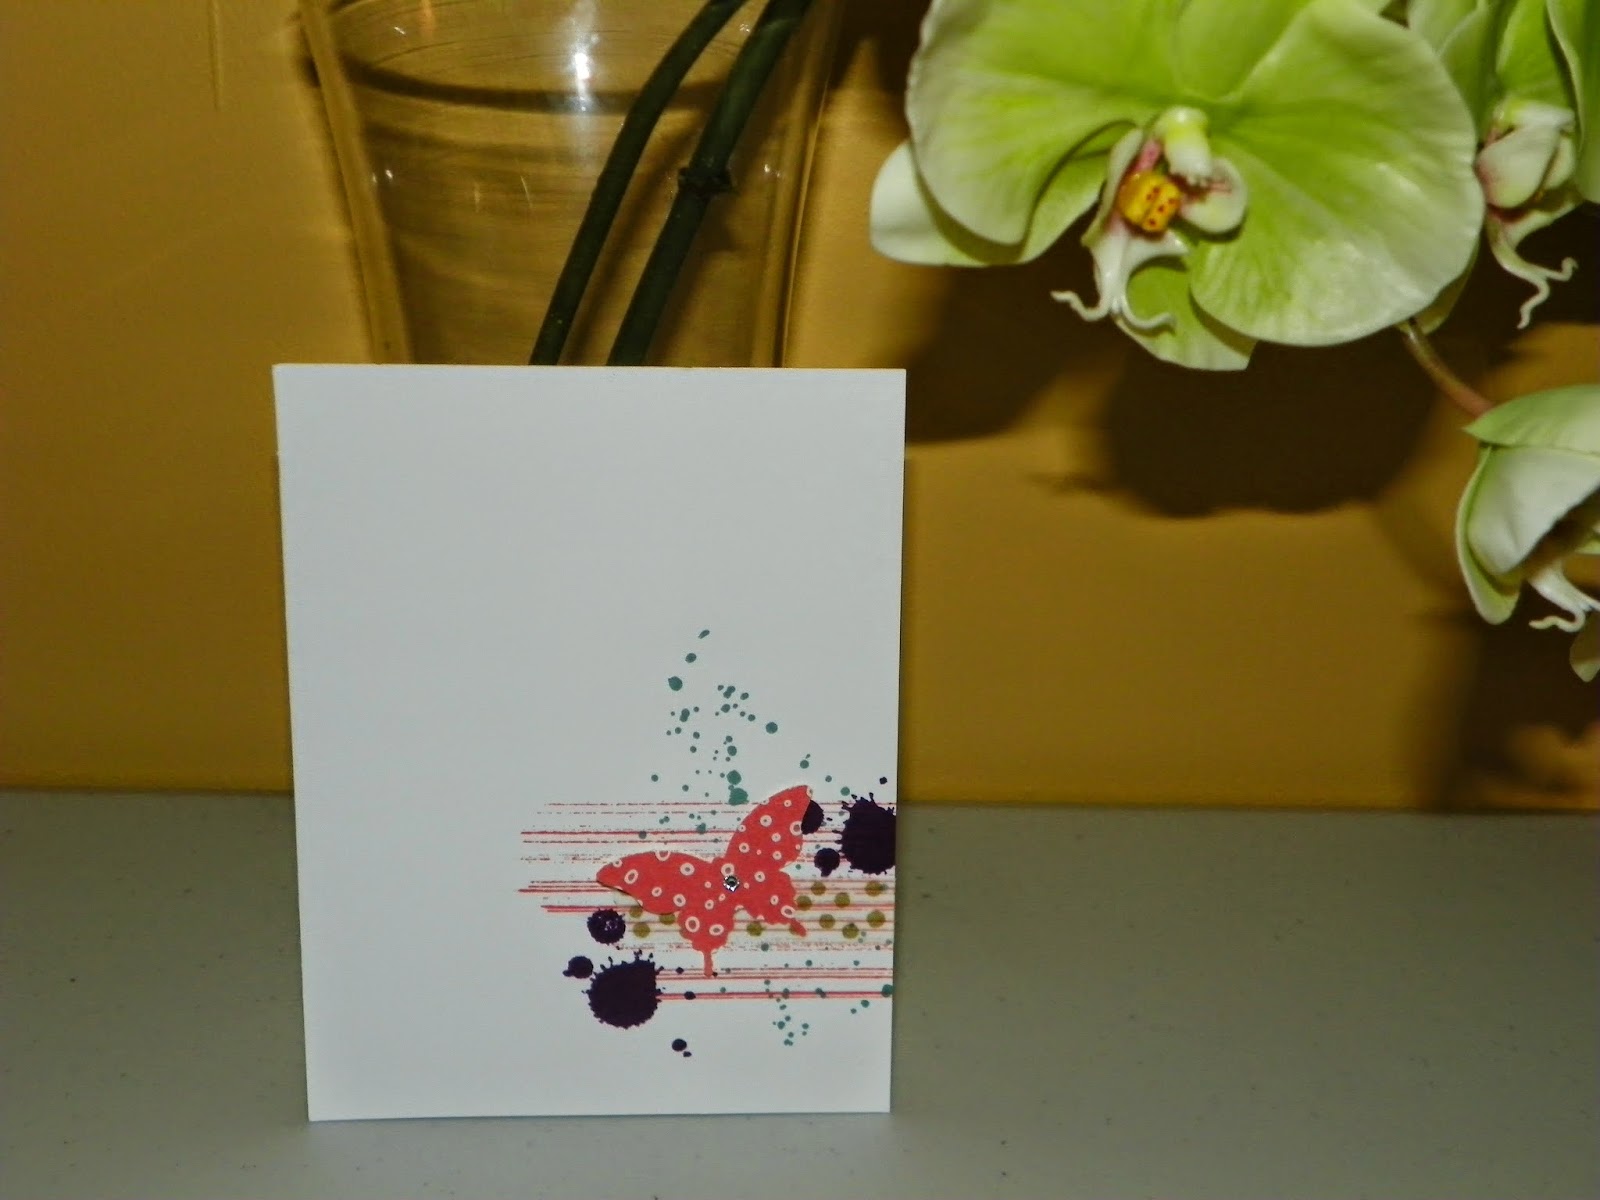
It's like a rainbow of colors! Let me show you a few additional ones from this stash. Most that I made were for any occasion, but I did make a few Fathers day cards as well as birthday cards.
Don't you want to make some, too? Here's how:
You'll need:
- 1 sheet of 8 1/2 x 11" card stock
-1 piece of coordinating Designer Series Paper (DSP)
-Stamps and Embellishments as needed to coordinate
-Adhesive
-Paper Trimmer
-16" strip of coordinating ribbon
-Score the piece of card stock lengthwise at 7 1/8" and 3 1/8"
-Using the vertical ruler on the blade of the trimmer, cut a slit in each of the scored lines with the cutting back from 4 to 4 1/2".
-Tri-fold the card stock so that one fold overlaps the other, creating an outer flap
-For the outer flap, trim the edge with a decorative trimmer, tear the edge, or leave along depending on your design
-For the inner flap, cut a piece of DSP to 7 1/2" by 2 1/2" and adhere to the outside edge so the paper is viewable.
-Stamp and add embellishments
-Run the strip of ribbon through the slits in the paper so the edges can be tied on the outside of the certificate
-Adhere your gift certificate to the center section (covering the ribbon running through this section)
-Close certificate and tie ribbon, trimming if needed.
Enjoy!


