About Me

My photo
Welcome to Artsy Acorn! I love all sorts of art, photography, and making fun and unique items out of trinkets and found items. Enjoy creating and learning with me!

Monday, December 15, 2014

Paper Pumpkin Recycle

I love using every ounce of the supplies I have or coming up with new and innovative ways to use the things I have.  So, I've had a blast using some things with the Stampin' Up! paper pumpkin kits!

First up is the November Paper Pumpkin kit.  I was knee deep in craft shows, which meant I didn't get to make the kit right away.  So, I wanted to re-purpose the kit a little.  I ended up painting the boxes (before assembling) in brown paint.  I had some thick multi-purpose paint on hand and a sponge roller brush, so I was able to paint these in one easy coat!  I glued on some eyes and added a pom-pom that I dyed with cherry cobbler ink.

The antlers?  I took ribbon I had on hand, and made one loop at the top, gluing two smaller loops to the sides.  These were attached to the pie slice and I added some treats to the inside!  These are perfect gifts for little ones!


My second idea came when I was putting together a holiday open house around the December paper pumpkin kit.  First, can I say WOW!! I love that kit and was so excited to share with others.  However, I really wanted an extra holiday card.  Using the page of punched out silver snowflakes from the kit, we used the negative space to make a stencil.  A sponge and some pool party ink completed these little guys.  Then, the snowflake stamp and sentiment from the kit finished up the side!  I added a few stars punched in glitter paper and some leftover white ribbon from the July paper pumpkin kit.  Mission accomplished!


Sunday, December 7, 2014

Craft Show Re-cap

Hello!  It's been FOREVER since I posted, and I didn't realize just how long it had been until I logged on.  I can tell you this time hasn't been idle for me; on the contrary!  I start preparing in September for the mass of craft shows I do as well as the holiday season.

It's a good thing too, because that money went to new tires and new shocks on my car this past week!  I really enjoy shows, although they do tire me out a bit after several in a row.  But, I've been doing them for a few years now, and have a system.

So, I thought this post would be about how I prepare, and what I do during shows.  I am going to focus on craft shows in this post, but will chat about vendor shows in my next post.

Before the show
Creation and Cost
As I said, I really start gearing up for holiday shows in September, but I make things all year round. I make several sets of cards (5 per set), and other items based on what I can find.  I like to upcycle materials and make something new out of something old.  So, my table varies a bit from year to year.

When making things, I keep a notebook of materials used, and the cost of these.  That helps me make sure I am charging enough to cover my time and cost.  Here is an easy formula:

Cost of Materials + Time x 2 = Wholesale Price
Wholesale x 2 = Retail Price

Inventory Sheet
I also keep an inventory of everything I made.  This makes it easy to track what's left, and therefore what is selling well, what I might need to make more of, etc.  I've been unfortunate to have a few things stolen at some shows before too, so an inventory sheet is really helpful.  I go through this at the end of the show, but you can also keep a tally sheet of what sells during the show too.

Organization
This is key.  Shows are hectic, busy, and can be hard to keep up!  So, I try to think of everything ahead of time.  I keep a box of materials at the ready for use at the show.  Here's my list:
Signs with prices for each set of items
Double sided tape
Sharpie and pens
Receipt book
Square reader (if you take debit/credit cards)
Bags (I bring lunch size brown bags I stamp on ahead of time and larger bags with handles that I also stamp and pre-staple a business card to with some ribbon.  Marketing technique at use here!)
Stapler
Safety pins in a small sandwich bag
Business cards
Small price tags
Bottle of water and snack

Branding
I want my table to be a destination and to stand out in the sea of other vendors.  So, I to this in two ways.  First, I add height to my table by adding crates/boxes on the bottom of the table before adding the rest of the tablecloths and merchandise.  I also have made some platters with recycles plates and either vases/candlestick holders/glasses that are great for holding smaller items.

Second, the tablecloths, display materials, and everything on my table is consistent so my tablescape matches.  I have generally gone for a shabby chic or vintage look with lace overlays, mason jars, weathered boxes, and more.


Sunday, August 31, 2014

Project Life

I was so excited when Stampin' Up! brought back a memory keeping solution this year, and even MORE excited when it was a partnership with Project Life.  I had heard about it and seen the solution before and thought it was really innovative.  My start in Stampin' Up! actually came from traditional scrap-booking as I was looking for a way to add oomph to some of my pages.  The rest, as they say, is history.

I stopped scrap-booking traditionally a while ago, mainly because I had several pages to do, knew how much time each page normally took me, and didn't know where to start.  I kept journals and a This n' That journal as a substitute.

When it came time to think about what to do for my mom's 60th this year, I thought about making my first Project Life by Stampin' Up! album.  I wanted something that captured her life thus far, was fun and engaging, and had memories and love notes from people who care about her in it.

My mom has a colorful personality, so I chose the Everyday Adventure set for her.  The colors are awesome, cards are adorable, and it all matches.  I don't have to think about anything- Stampin' Up! did all the work in coordinating for me!  I also plan on using some of the pieces in the kit that are left overs to make an easy card on the go when I need one.  I love multi-tasking!

I can't tell you how easy this was to make this album- It literally took 2 nights after work to put together!  I had previously pulled some pictures and made copies for the book and contacted some of her friends and family to write a little something about why they loved her or a favorite memory.  The first night was spent just adding the pictures and cards into the page slots.  Literally that easy.  I didn't over analyze anything- just went with my gut and enjoyed the process.  The second night I worked on adding in the text and embellishments (my favorite part!).  Having been someone who has made traditional scrapbooks, I kept thinking- it CAN'T be this easy, can it?  I've missed something!  The result is a super cute album that I know my mom will cherish.  I'm now hooked officially on Project Life!

Enough talk- let's get to the pictures!


I added a little embellishment to the front cover with a doily, kit accessories, and a chalk marker.  Here is the inside cover of the album.  


My mom is a kindergarten teacher of 35 years, and naturally has a little kid at heart in her as well.  I wanted to show her goofy side in some of these with the pictures and the stories.


The pre-ruled cards made it easy to journal and share stories.  I also added some stickers from the accessory kit too- they are just too fun not to share!

Mom's best friend Lewis past away a few years ago from cancer, so it was important to me to capture their moments together so he could be with us in spirit.

Me and my mom!  We always have fun together!

The pictures and the great cards really do the work.  All I had to do was crop the pictures a little and add in some journaling.

Love the stickers in this set!  It was easy to add wherever I felt like they were needed. This picture of my mom and my little brother (who isn't so little anymore!) is one of my all-time favorite pictures.


The back page (front and back) is super easy with the accessory pack and a piece of Confetti Celebration DSP paper.


We celebrated her birthday weekend in our friends (Rita and Doris) mountain condo.  On the morning of her birthday, I presented her with the album.  I think she liked it! :)

Wednesday, August 27, 2014

Cake Concoctions

A crafter masquerading as a baker?  I wasn't convinced a could make a fancy birthday cake from the beginning.  After all, my mom is the baker.  But, being that it was her birthday we were celebrating, the birthday girl wasn't allowed to work!

We had an extraordinary event in my family this year- my brother turned 30, mom turned 60 and grandma turned 90 all in the month of August!  So, I planned a 30-60-90 party to celebrate with the entire family.  We had a wonderful time, and I loved seeing everyone.  The cake turned out great too (my hat goes off to all bakers that make elaborate cakes- you earn every penny!!).

I wanted to see what I could possibly do to incorporate my craft addiction in with making the cake.  So, when I learned about sugar sheets, I thought "I wonder if I can run that through the Big Shot?"  The answer is yes!  I embossed a sugar sheet with a chevron pattern and then punched it out with a 1/2" circle punch and a 1 3/8" circle punch.  Voila!  Crafti-fied cake!


If you do this, it's easy to wash your embossing folder off with a little soap and water.  For the punch, I just took a baby wipe and cleaned the cutting edge of the punches gently.

Here's the final result!  I also took some wire curlies made for cakes and hung pictures of the birthday people on the loop using scallop punches.  So easy!  I had the same curlies with pictures coming out of the flower arrangements on the table.


Happy Birthday!

Friday, August 1, 2014

Convention Day 3 and 4

Our last days of convention were filled with fun, creativity, and a little sight seeing!  One of the sessions we attended included making this cute stack of cards for a birthday.   I loved it so much that I decided to have a birthday themed class in August!  Stay tuned...

I also had a blast hosting a 3D swap this year.  I am always so inspired by the creativity of the men and women around me.  One of the swaps I received made this lovely project.  Isn't it awesome?


After the Awards celebration, we had a county fair themed party.  I felt right at home with the decorations, events, and umm.... funnel cake.  We had a product "fishing hole" where you could fish for a free prize (I won ribbon!) and even a mechanical bull.  The amazing LJ took a turn on this, and became my hero for trying it out.  I have video of it, but won't embarrass her with posting it!


Our last day held some of my favorite sessions, including a product panel and watching Shelli stamp!  Her projects are always inspiring.  One of the funnest parts of main stage was that the center section of the stage rotated to reveal the presenter... here comes Bonnie!


On our final afternoon in SLC, we took an open air bus tour of the city.  I learned so much and saw so many amazing things that I wouldn't have been able to do otherwise.  I had a blast (and soaked up some vitamin D).  Here are some highlights!


Brigham Young house and the Joseph Smith Memorial building


You know SLC is a cool place to live when they turn an entire street block into a giant slip-n-slide one day.  It was upper 90s, so I was tempted to hop out and slide down myself!  This looked like so much fun!


The state capitol building, view of the mountains, and site of the opening and closing ceremonies for the 2002 Winter Olympics.  It was very hazy while we were there because of fires in Canada California.  It was breathtaking nonetheless!

"This is the place" site where Brigham Young and the settlers first arrived in 1847.


(Below) After our tour, we trekked back to the Joseph Smith memorial building to have dinner.  And look at that view!  Nothing better than good friends, good food, and a killer view from our table.  We watched the sunset over SLC, which was the perfect end to an amazing adventure!


Tuesday, July 29, 2014

Convention Day 2

It feels like so long ago that convention happened, and that is perhaps because of how full my mind has been of all that I learned.  I was reminded today in a leadership conference I attended of how great leaders find ways to inspire and help create greatness in others.  While I certainly don't consider myself a leader, I do hope to inspire others and help others to be creative and find ways to accomplish things they can be proud of.    These were things that reminded me of Stampin' Up! and what I hope to do with my workshops and events.

That brings me back to Salt Lake City for Day 2 of convention!

View from our hotel room- good morning Salt Lake City!


 Just me and 4,000 of my closest friends!


Our co-founder and CEO, Shelli Gardner with the founder of Project Life, Becki Higgins.

I love our new In Colors!

One of the MANY amazing samples from the upcoming Holiday Catalog!

My Stampin Family!  I made us shirts and used a bleach pen to make a family tree on the back.


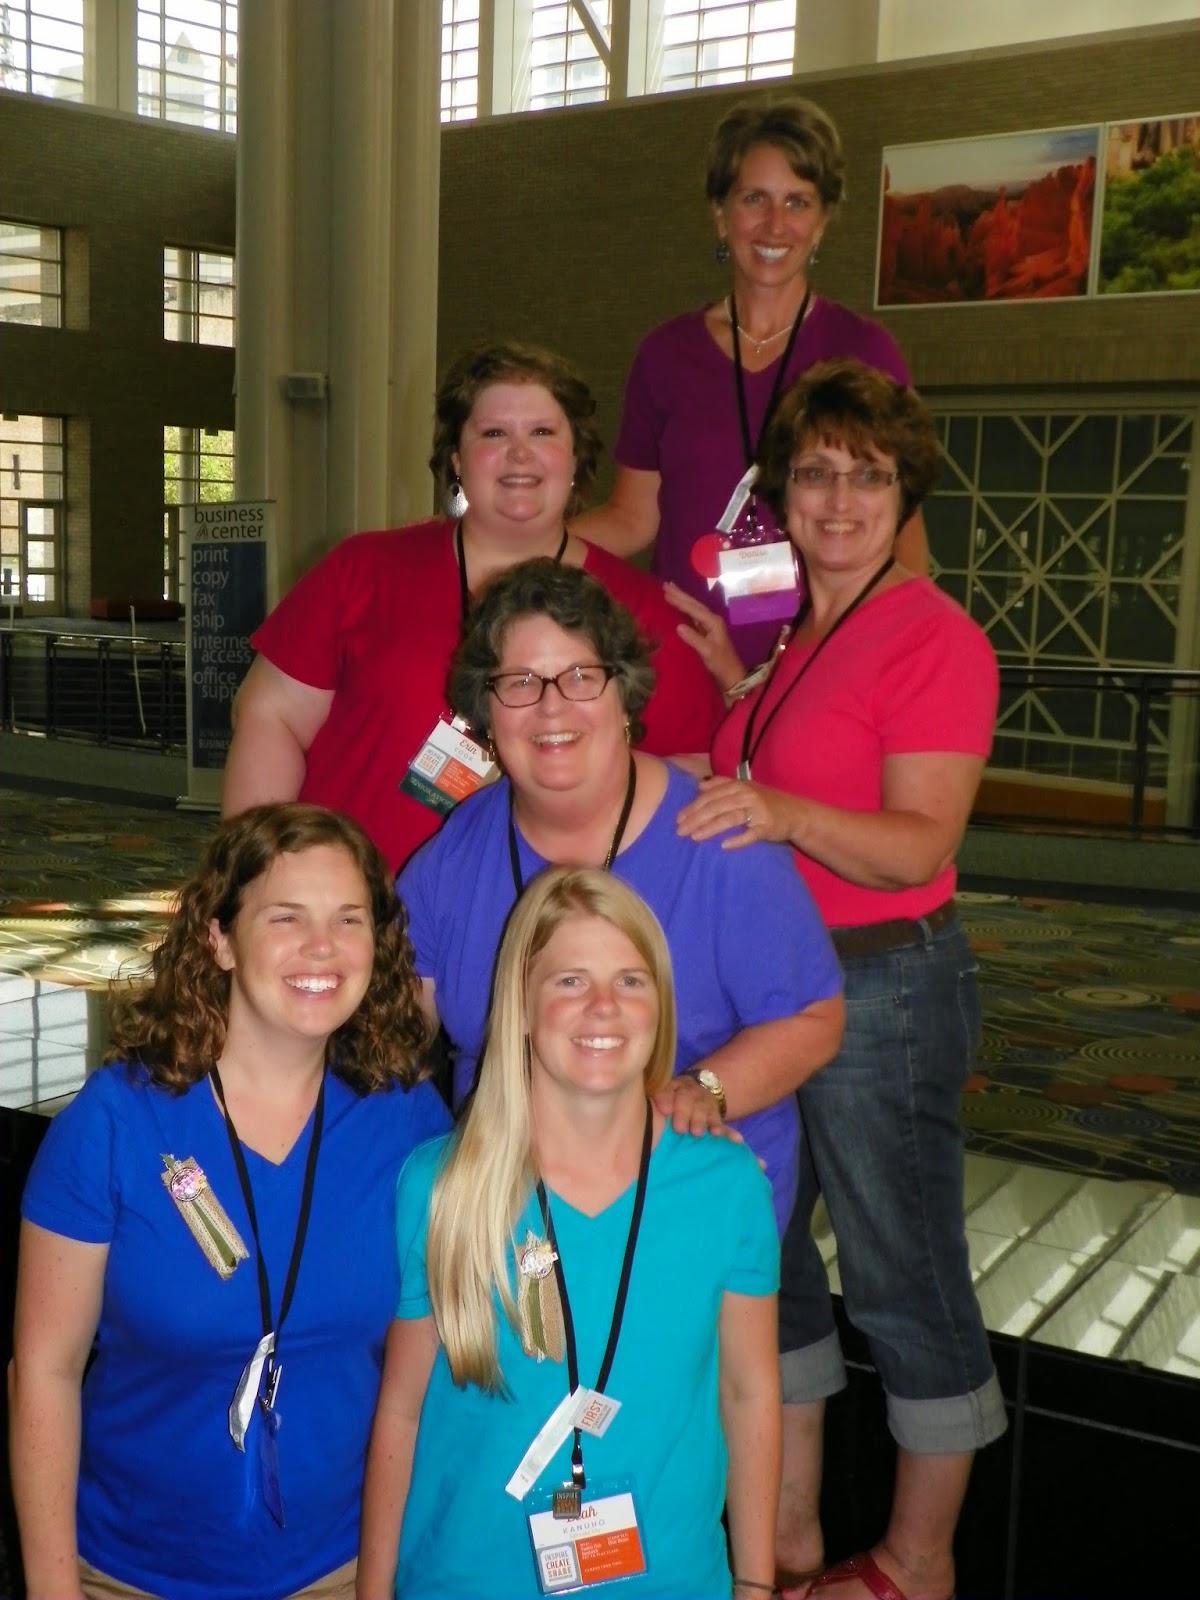
My upline Denise and part of our immediate Stampin family- Melanie, LJ, Rachel, and Leah

Up close look at the shirts!

More soon!